App Configuration
There are two ways to set up users for the phone system app. You can either configure an existing user or create a new one.
Creating New Users
Create a "User" for the app, this user will get a QR code that is linked to the phone system and your number(s).
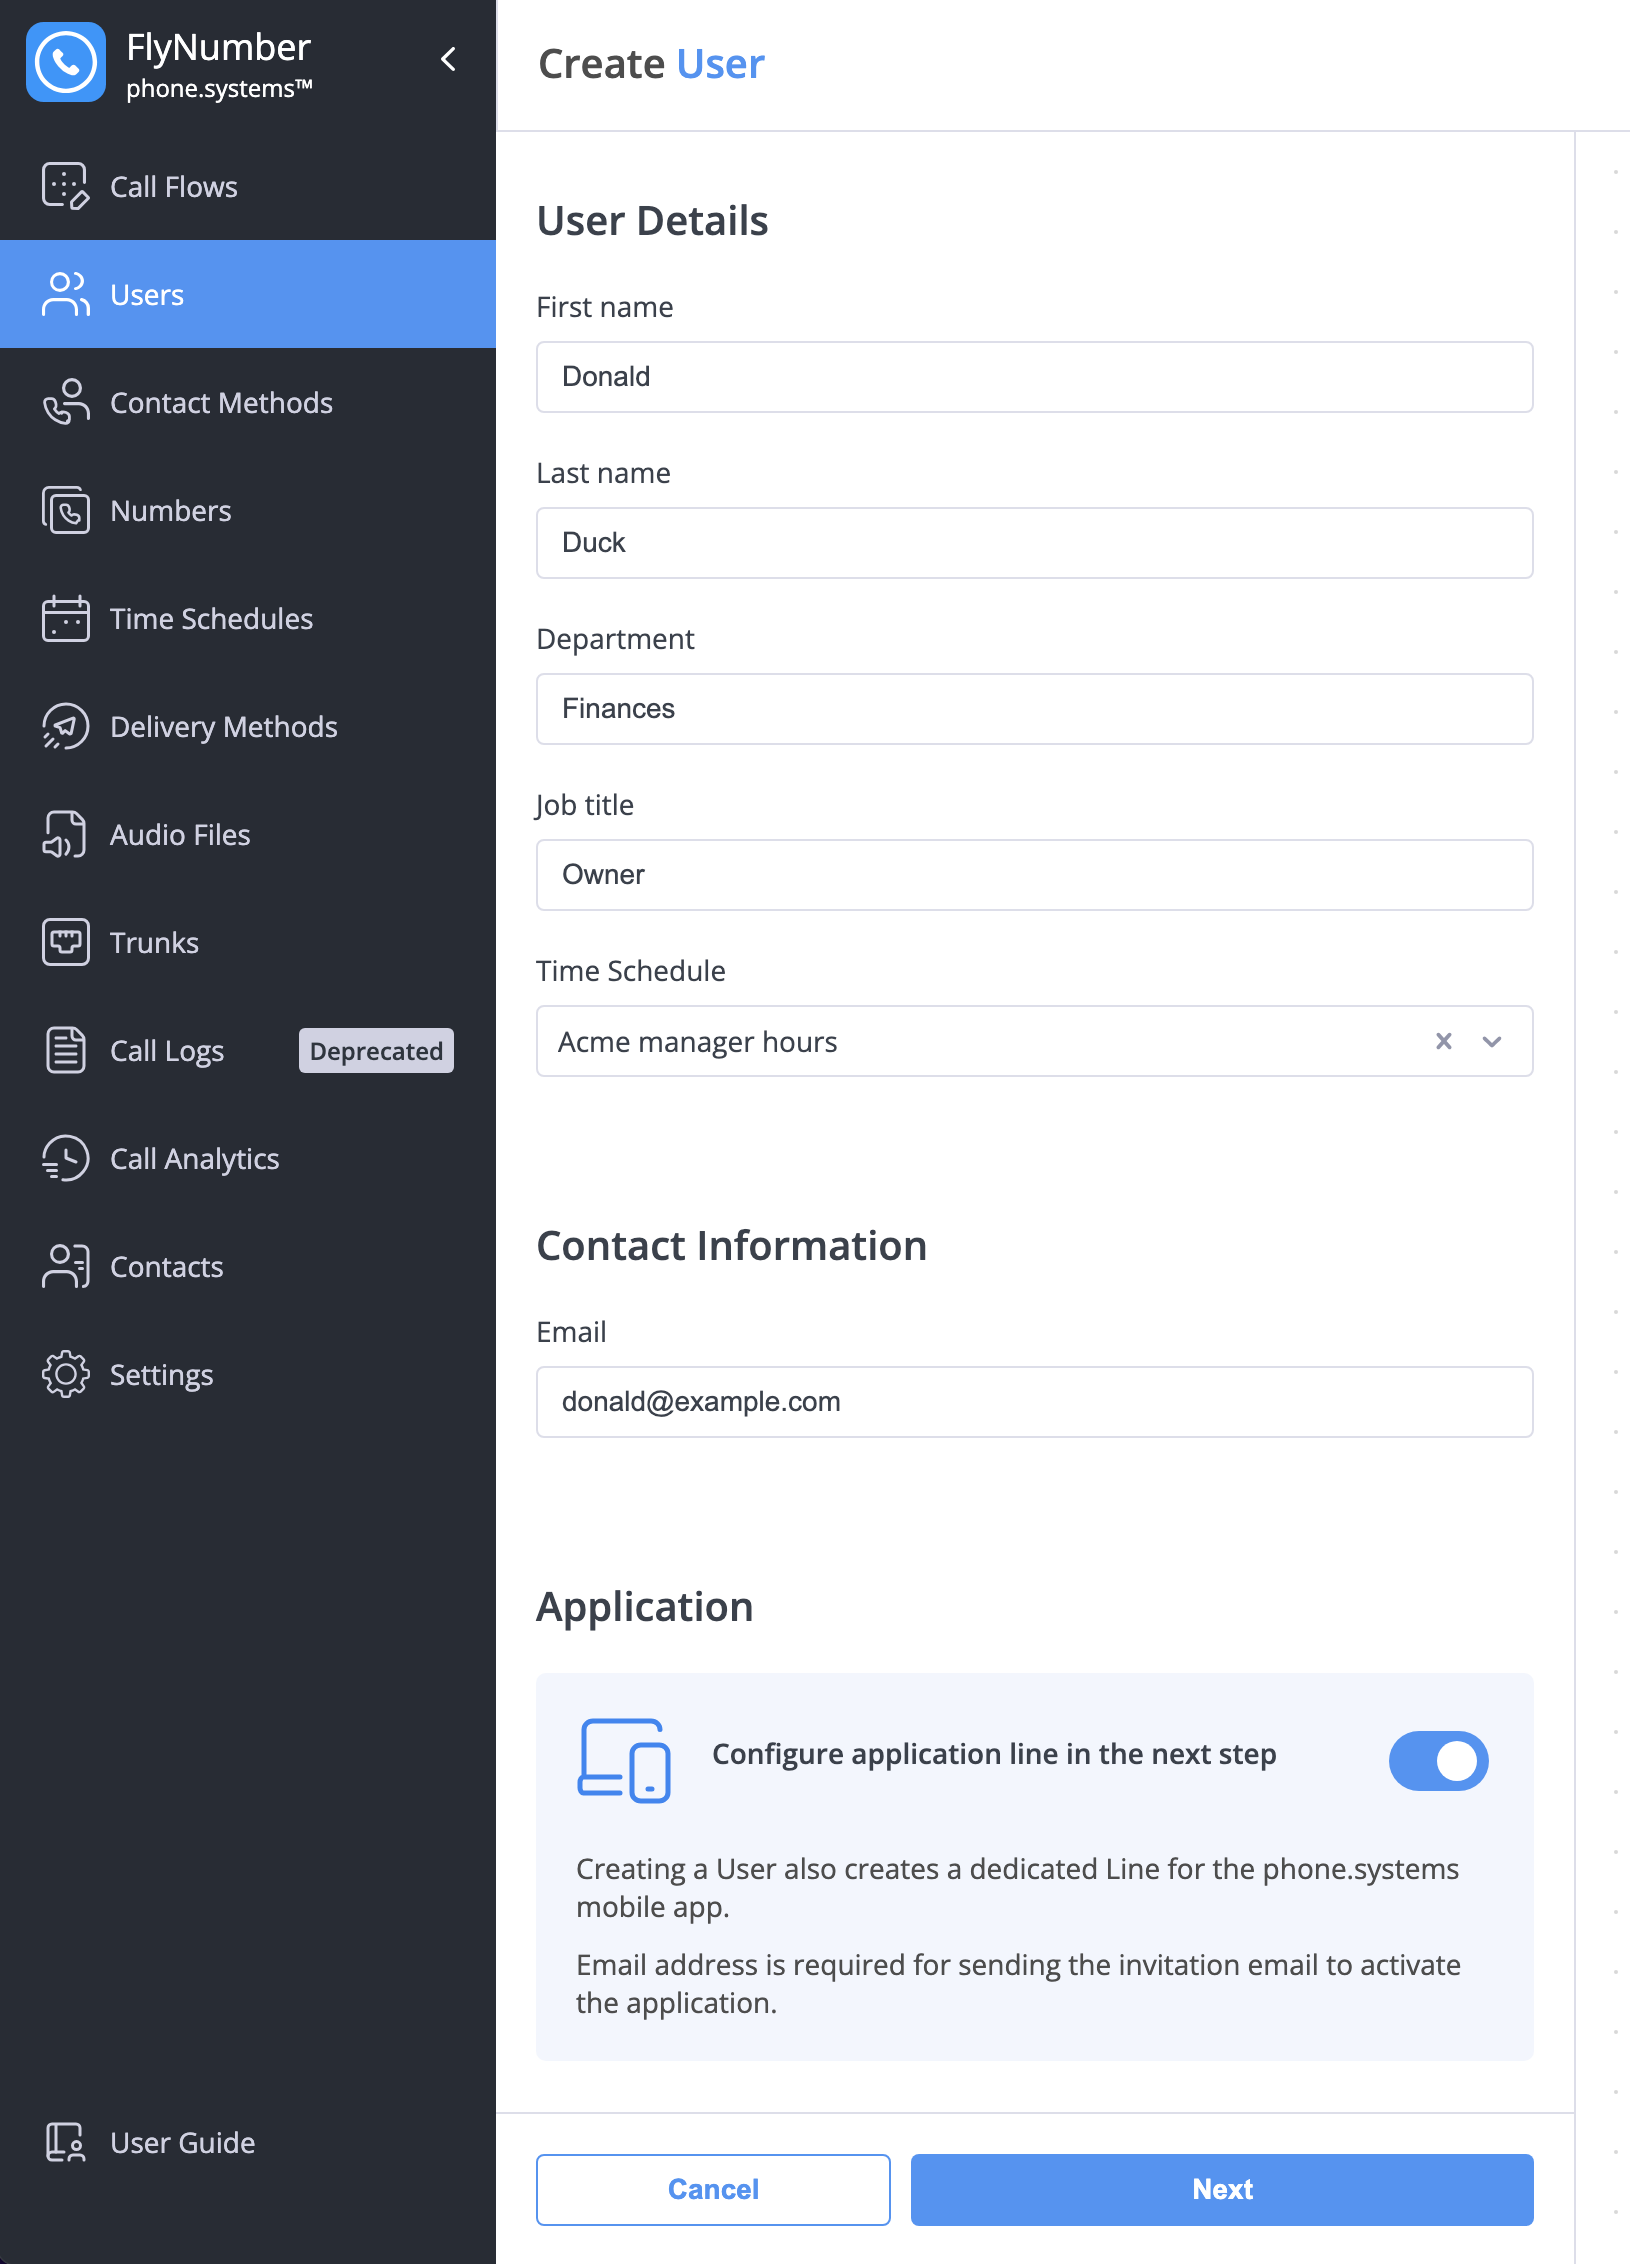
- Go to the Users menu
- Click the + button
- Fill in the user details:
- First name (required)
- Last name (required)
- Department (optional)
- Job title (optional)
- Time Schedule (optional)
- Email (required for receiving activation instructions)
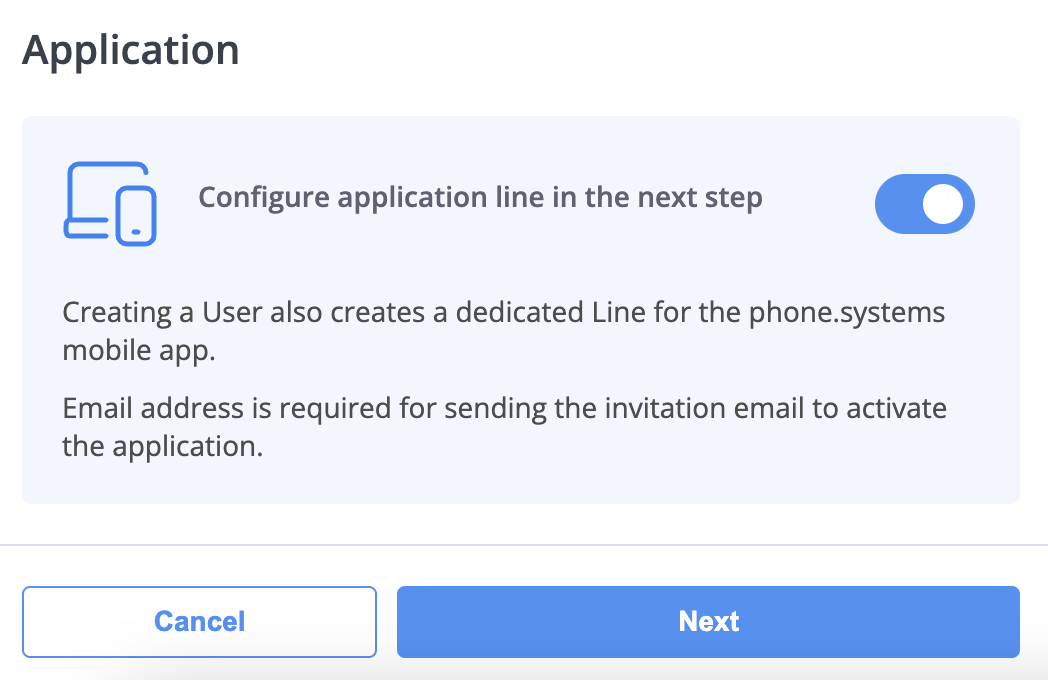
- Enable "Configure application line in the next step"
- Click Next
For Existing Users
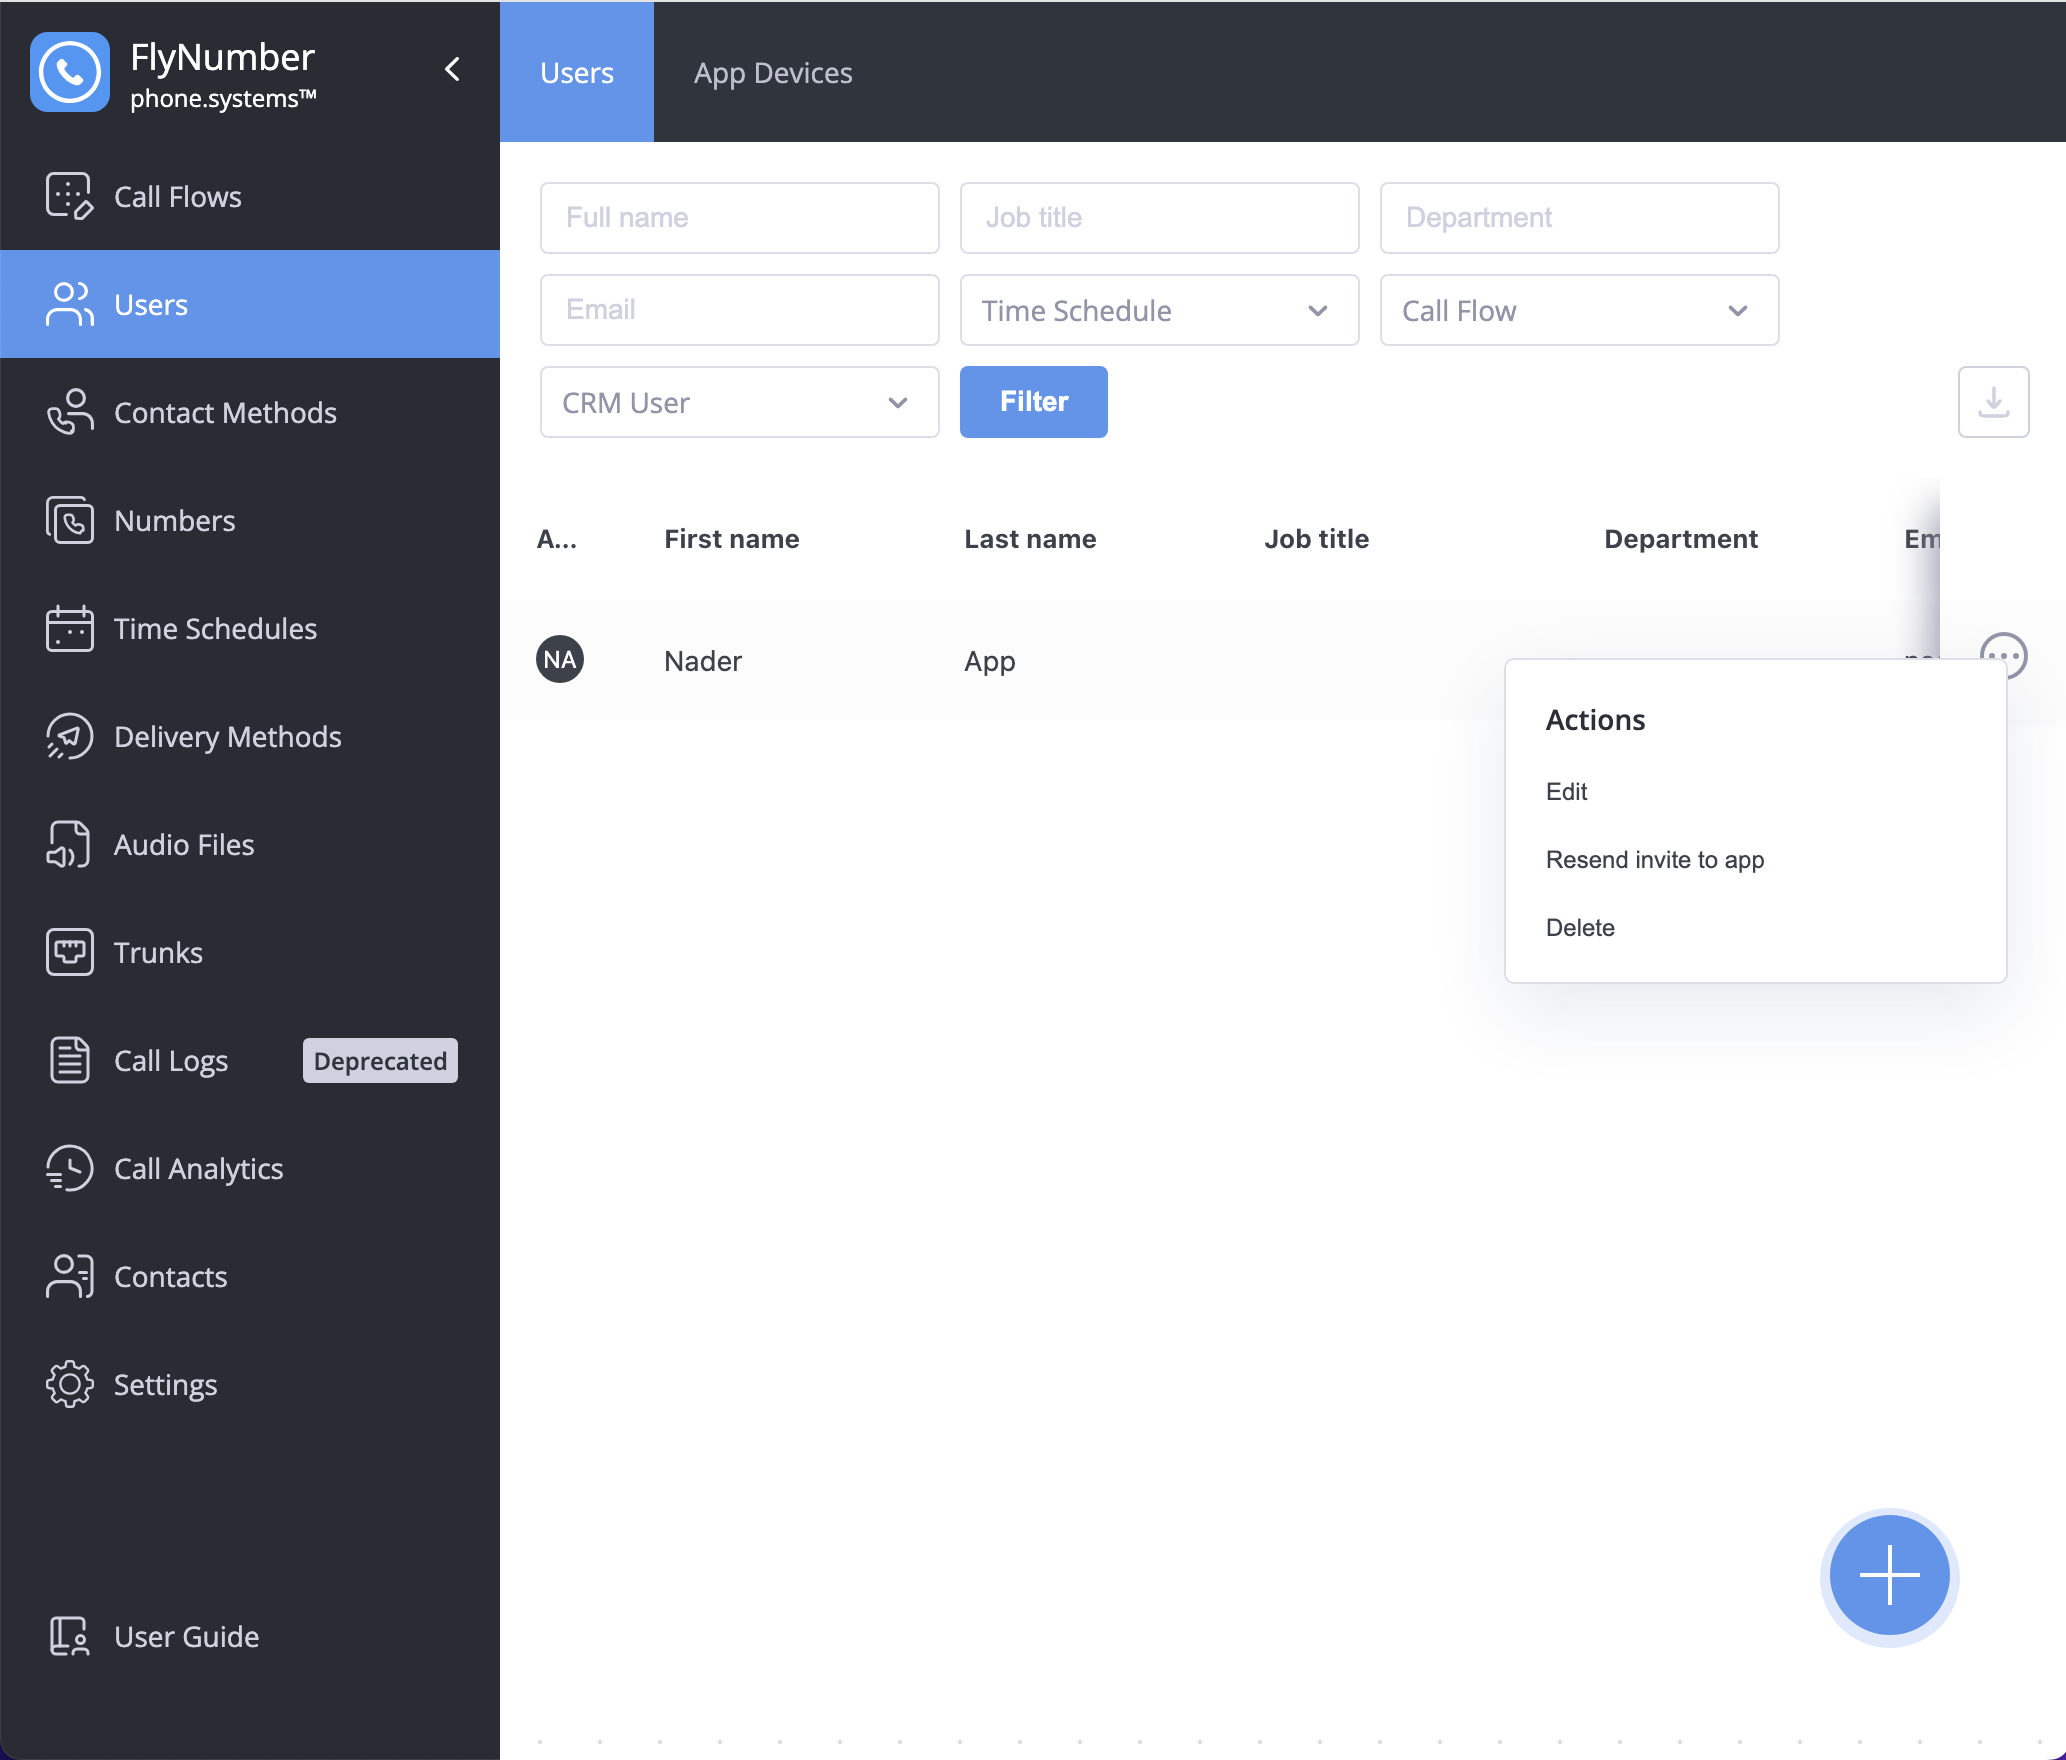
- Go to the Users menu
- Find the user in the table
- Click the Actions button (⋮)
- Select "Send invite to app"
The "user" needs to have an email in order for the system to send an invite. You can edit the user and add one if one wasn't previously added.
App Line Configuration
Inbound Calls
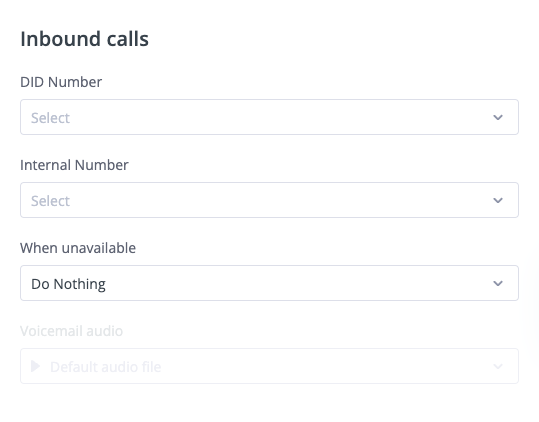
Configure how the app handles incoming calls:
- Phone Number: Select which number rings to this app
- Internal Number: Set an extension for internal calls
- When Unavailable: Choose what happens when calls can't be answered
- Voicemail Audio: Select greeting for voicemail (if enabled)
Outbound Calls
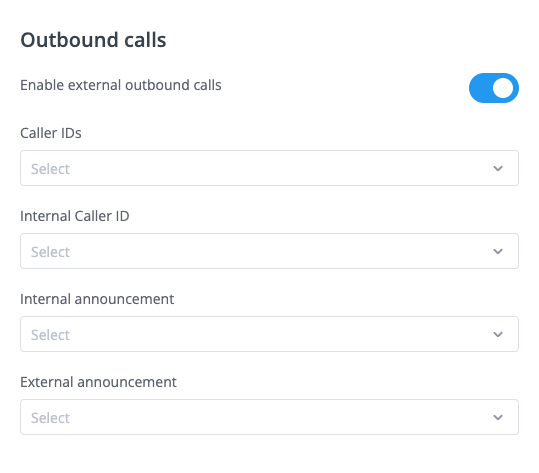
To make outbound calls, you need to have a positive balance in your account:
- Maintain at least $1.00 in your account (should work with less but recommended as a minimum)
- Check your prepaid balance in My Account > Dashboard > Summary tab
When making calls, use the E.164 format without any prefixes (no 011, 00, or + symbol):
- US/Canada numbers: Country code (1) + area code + number
- Example: 19176282411
- UK numbers: Country code (44) + number
- Example: 44203603115
- Other countries: Follow the same pattern with appropriate country code
Set up outgoing call options:
- Enable External Calls: Toggle ability to make external calls
- Caller IDs: Choose which numbers to use for outbound calls
- Internal Caller ID: Set ID for internal calls
- Announcements: Configure audio for internal/external calls
Call Recording
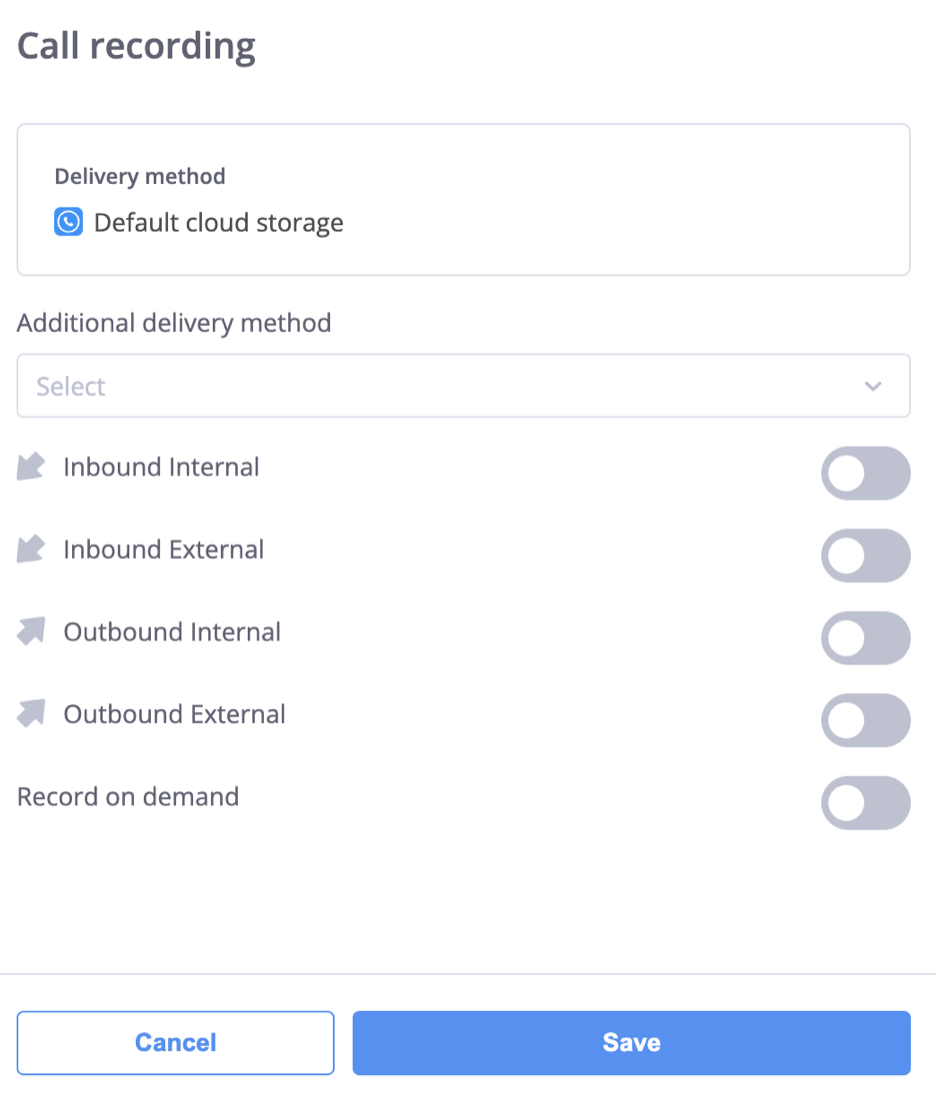
Configure call recording settings:
- Delivery Method: Where recordings are sent
- Call Types to Record:
- Inbound Internal
- Inbound External
- Outbound Internal
- Outbound External
- Record on Demand: Enable manual recording during calls
Activation Email
After configuring the user, they will receive an activation email containing everything needed to set up the app:
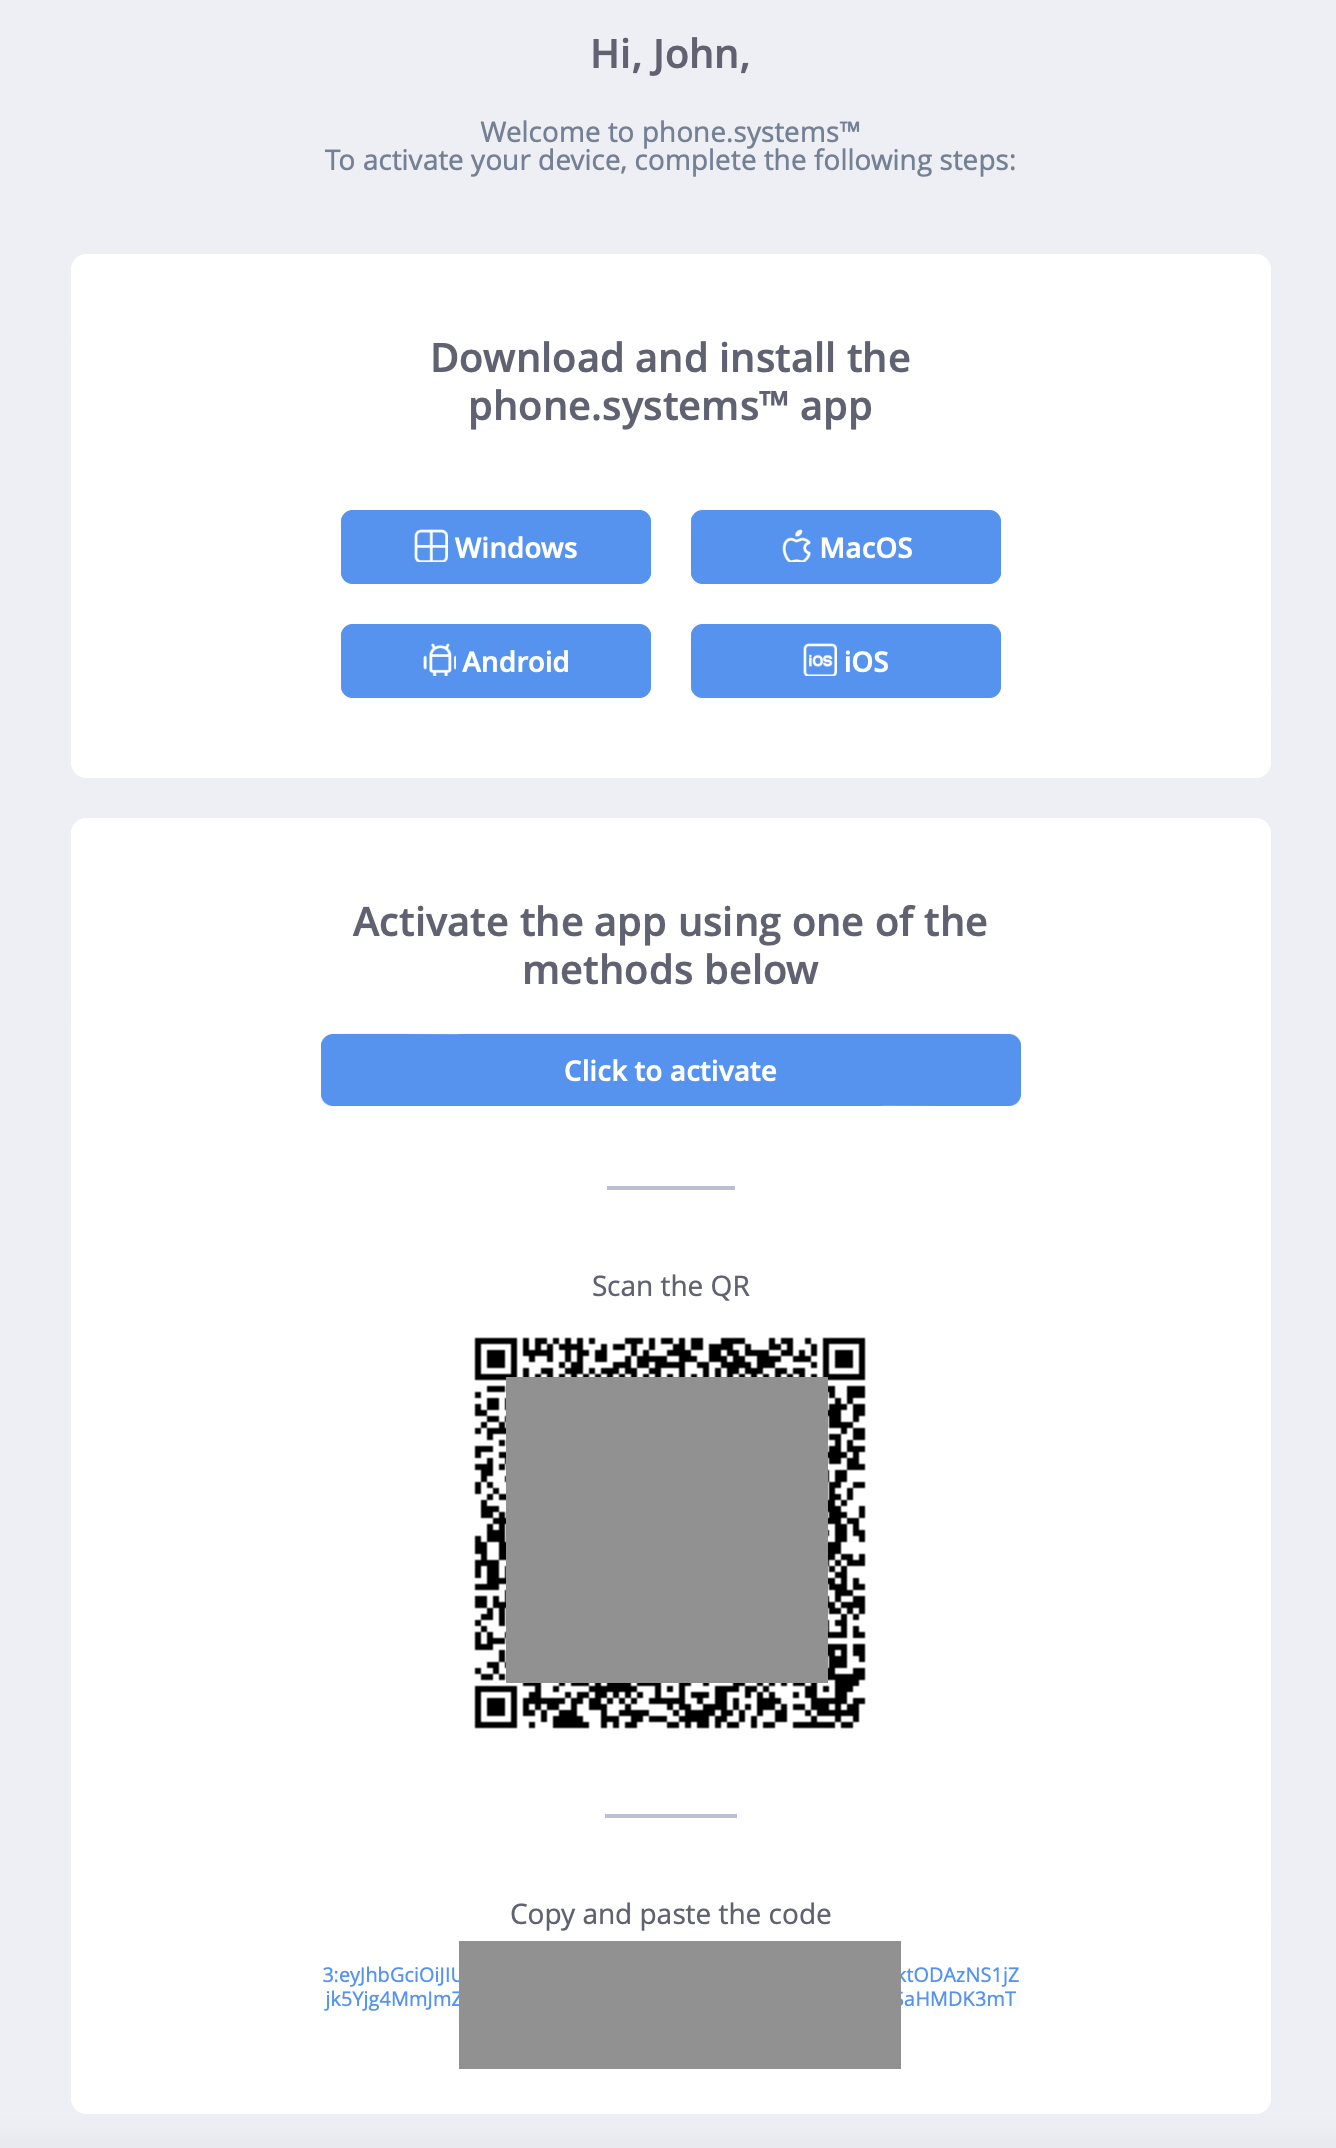
The email includes:
- Download links for all platforms:
- Windows
- macOS
- Android
- iOS
- QR code for quick activation
- Manual activation code (if QR scanning isn't available)
Make sure to add a valid email address when creating or editing users. Check your spam/junk folder in case you don't see it.
App Setup Process
After receiving the activation email:
Sign In
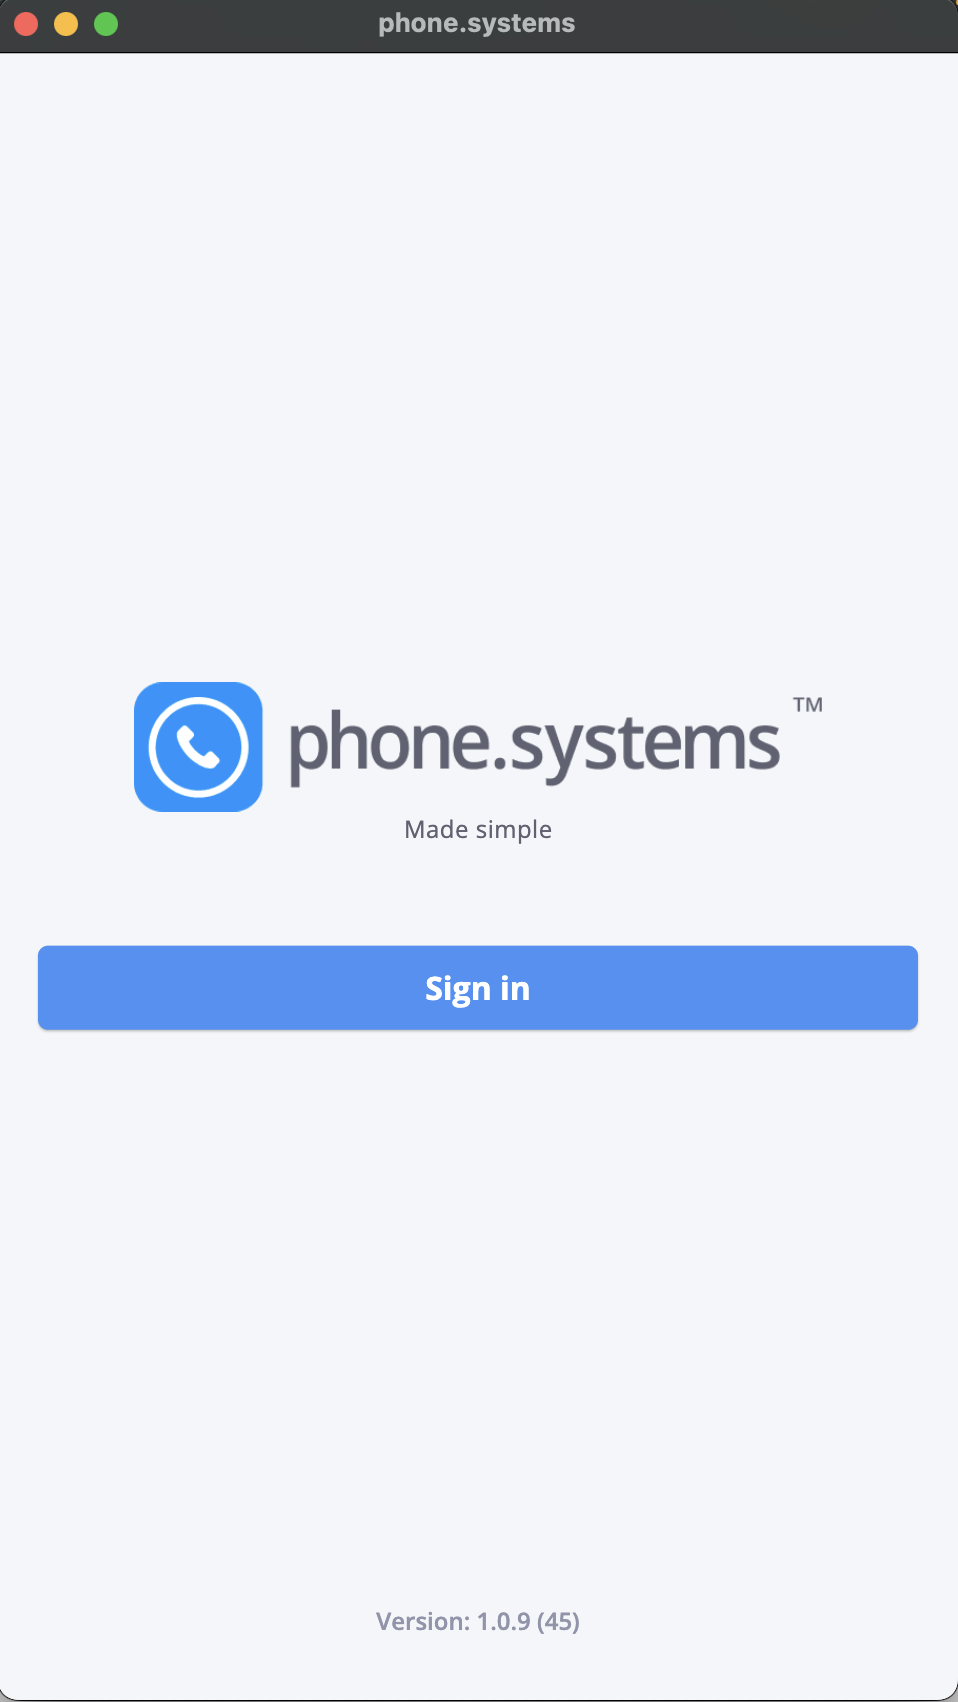
- Download and open the app
- Click Sign in
QR Code Authentication
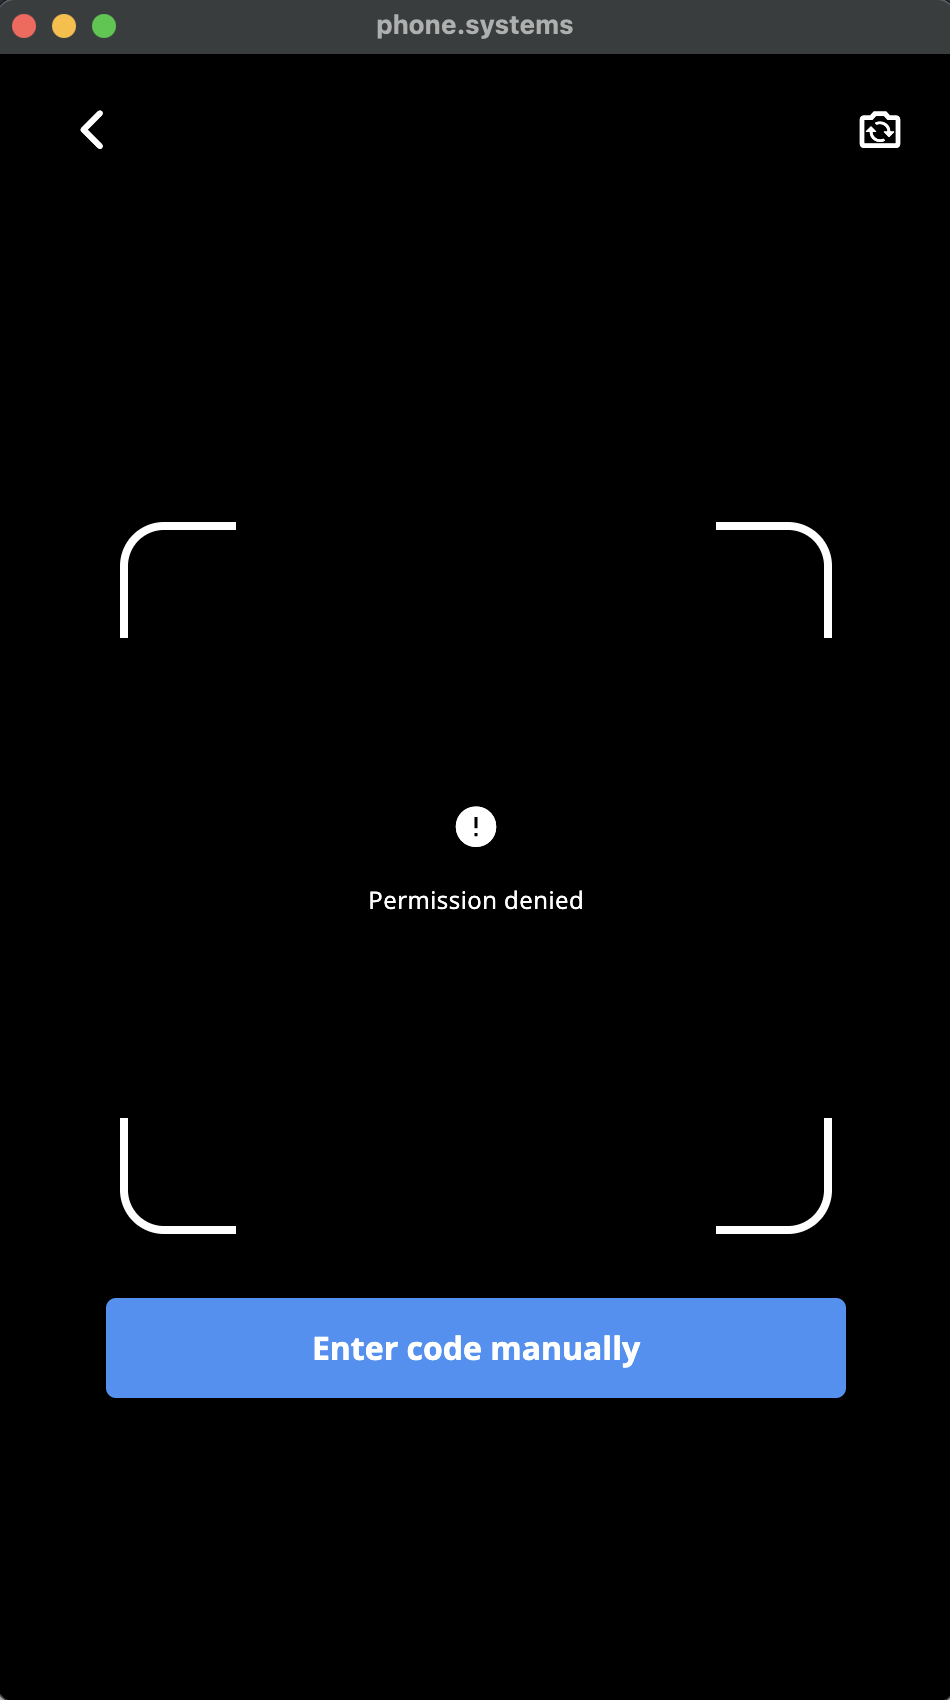
Two ways to authenticate:
- Scan the QR code from the activation email
- Click "Enter code manually" to input the code
If camera access is denied, you can always use the manual code entry option shown here:

Personal Information
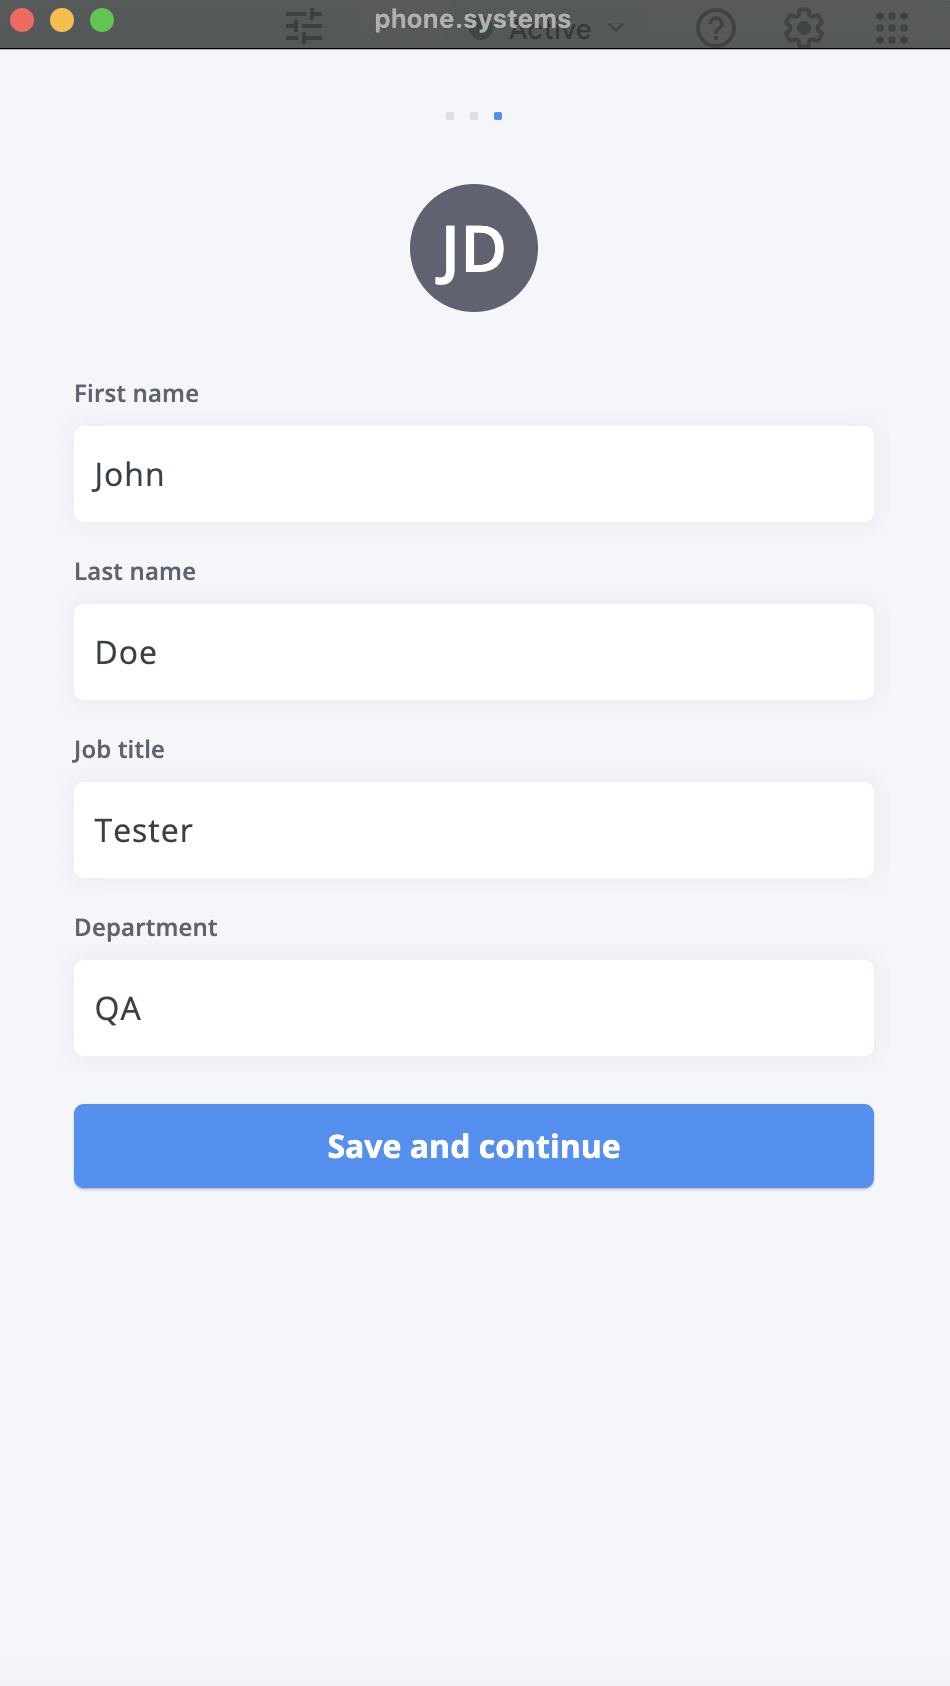
Complete your profile:
- Enter first and last name
- Add job title (optional)
- Select department (optional)
- Click Save and continue
Modifying App Settings
You can modify your app settings after the initial setup in two ways:
1. Using Contact Methods (Primary Method)
The main way to manage app configurations is through the Contact Methods menu. This provides direct access to modify app settings without requiring any additional setup.

- Go to Contact Methods
- Select the App Configurations tab
- Find your app configuration in the list
- Click the Actions menu (⋮)
- Select "Edit"
Here you can modify settings including:
- Inbound/outbound call settings
- Phone number assignments
- Internal number assignments
- When unavailable settings
- Call recording options
- Voicemail configuration
- Caller ID settings
For detailed information about available settings, see the Managing App Settings section in Contact Methods.
2. Using Ring Group Module (Optional Method)
You can also manage app settings through a Ring Group module if you want to integrate the app into a specific call flow.
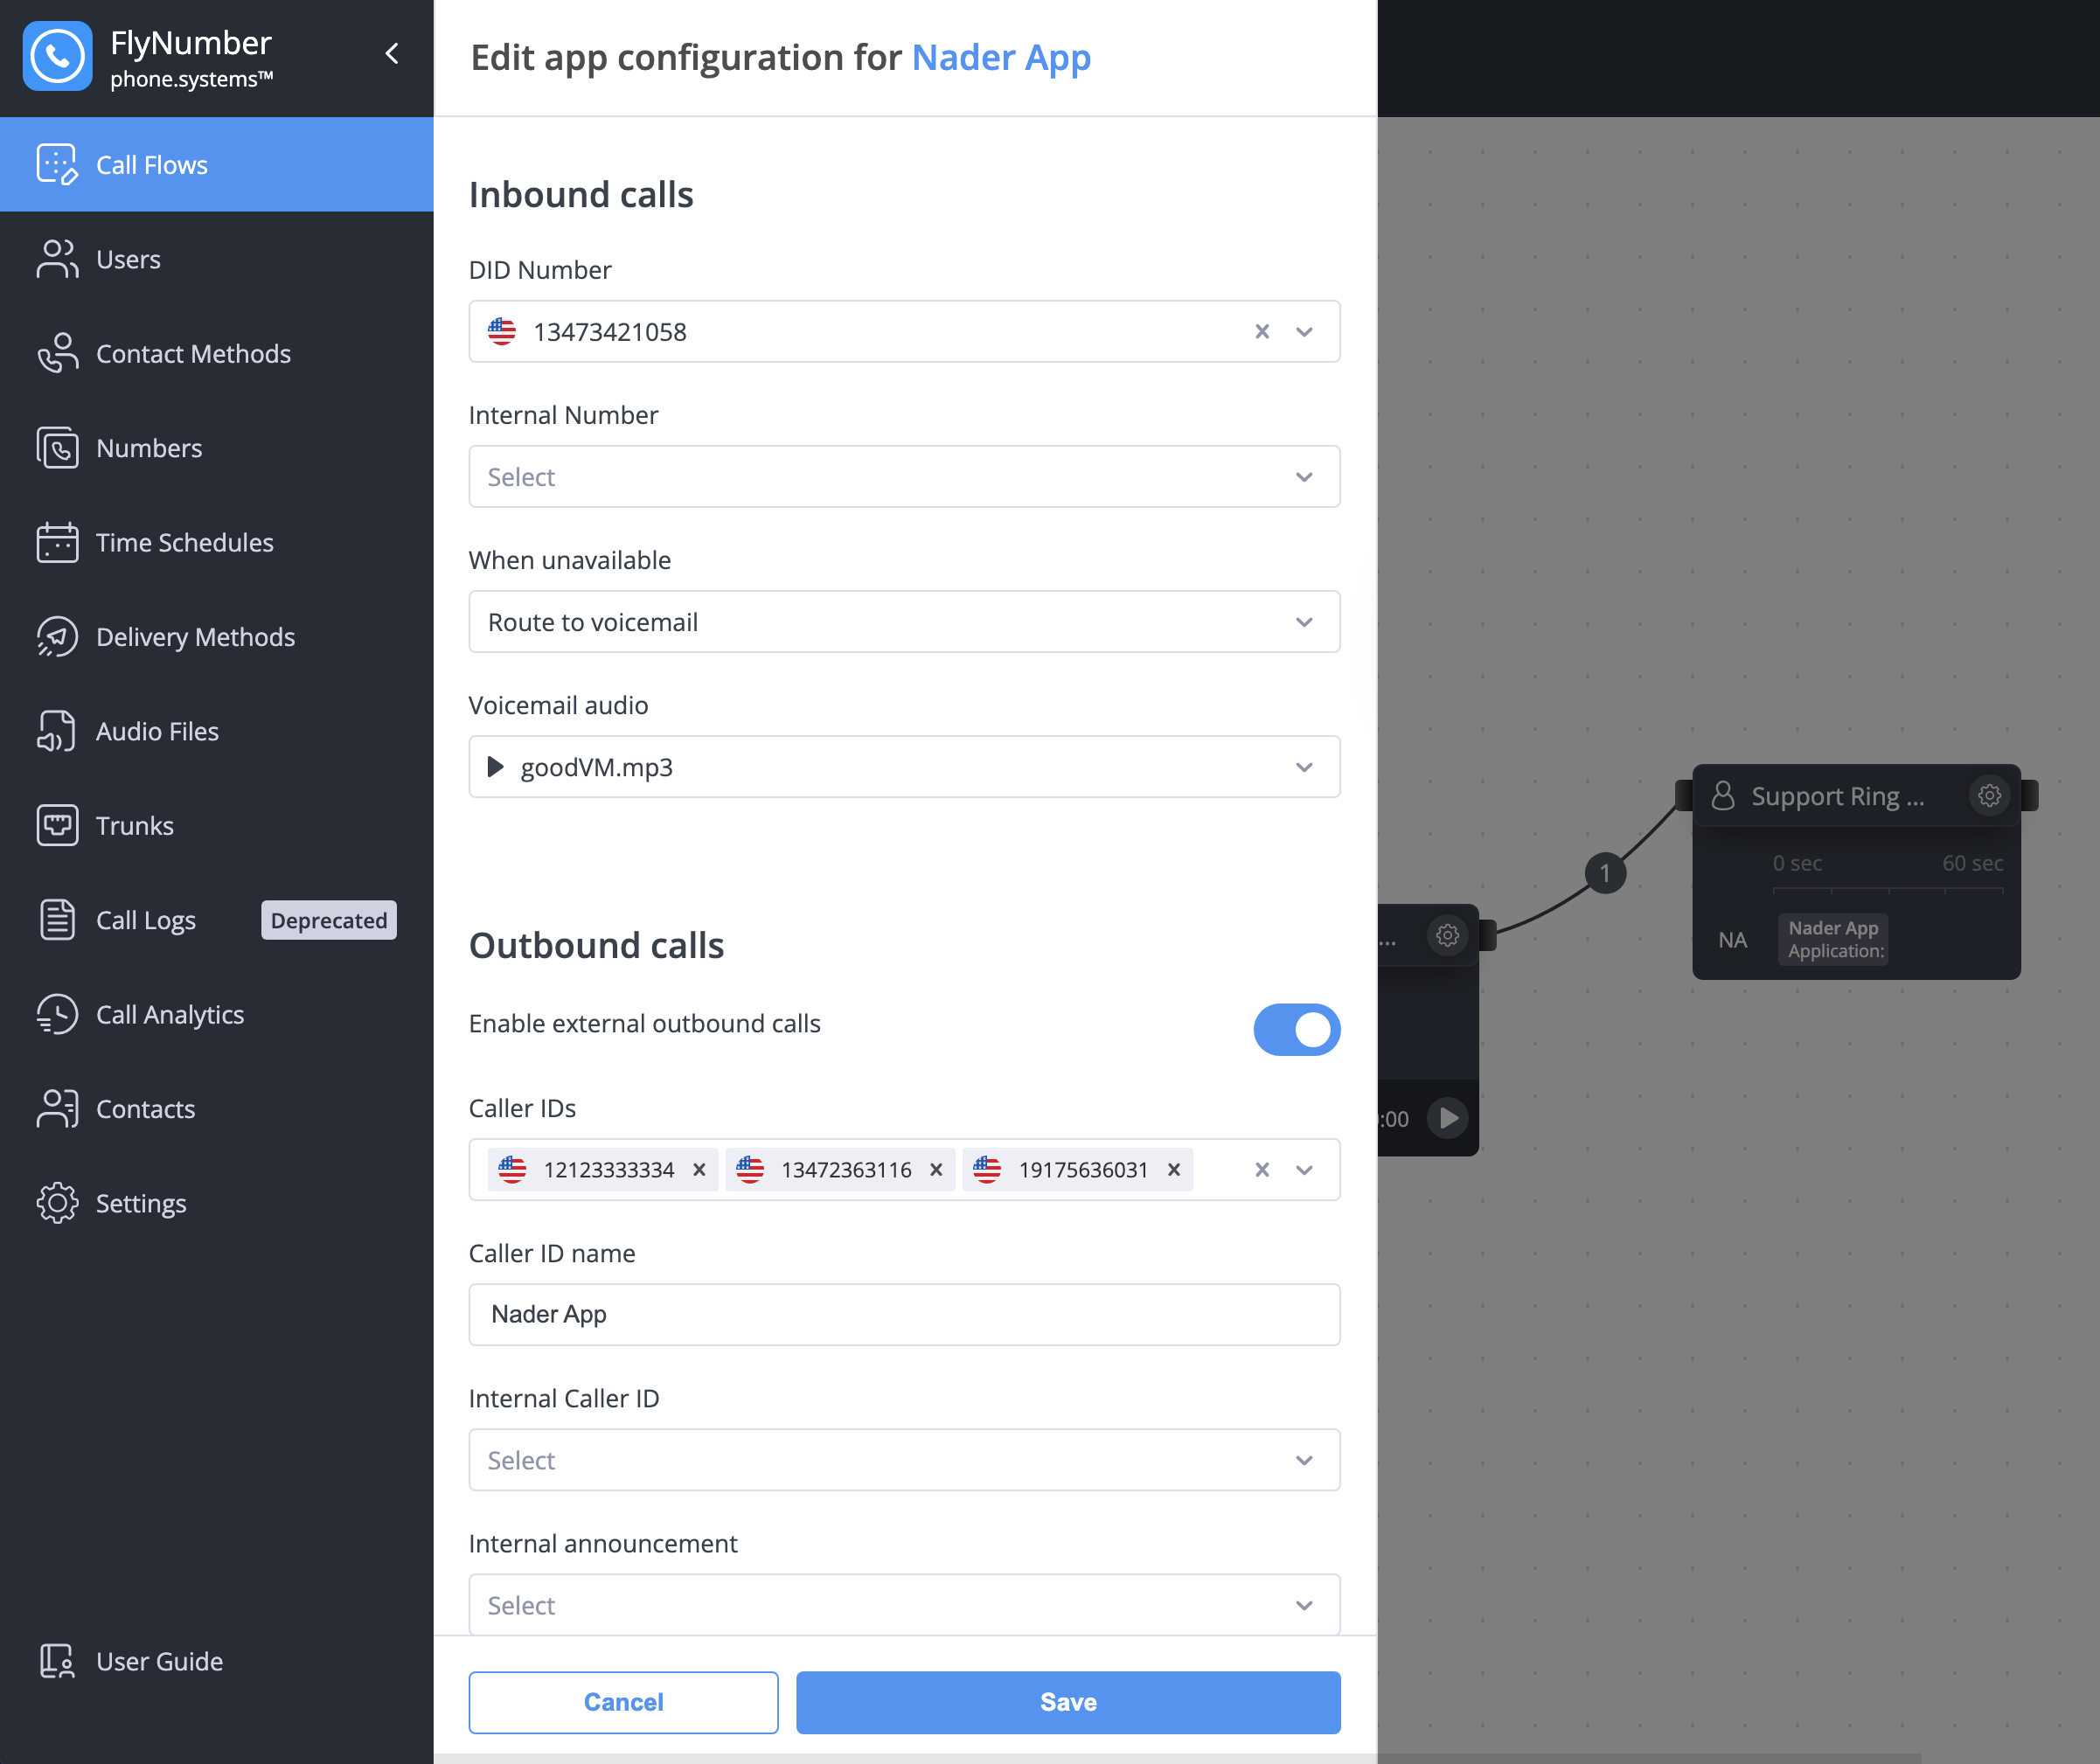
To use this method:
- Add a Ring Group module to your call flow
- Set your app user as a Queue Destination
- Click the gear icon on the Ring Group module
- Click the edit button for your app user
This method provides the same configuration options as the Contact Methods approach but allows you to integrate the app settings within your call flow design. For more details, see the Ring Group App Configuration Settings section.
While both methods provide access to app settings, using Contact Methods is generally simpler when you just need to modify app configurations. Use the Ring Group method when you specifically want to integrate the app into a call flow with other modules like Voice Menu, Time Router, or other call handling features.
Next Steps
After setup is complete:
- Test incoming and outgoing calls
- Configure voicemail if needed
- Set up call recording using the module if required
- Add the app to a Ring Group if desired
The app uses WebSocket Secure (WSS) protocol for all communications:
- Establishes encrypted TLS connections for all data transfer
- Ensures secure real-time voice and signaling
- Provides enterprise-grade security for mobile and web communications
- Protects all app traffic with industry-standard encryption
Remember to grant microphone and notification permissions when prompted, you'll need the notifications to receive calls when the app is off.